[A-00123]Google Cloud Firebase Hostingを使ってみる
google cloudのFirebase Hostingの使い方を記載しておきます。
・Firebase用プロジェクトの作成
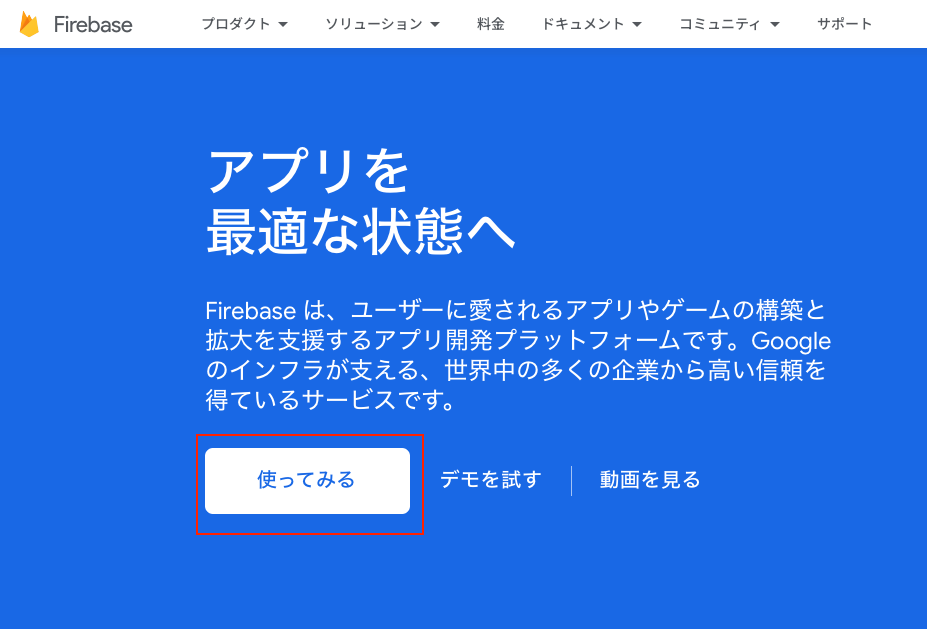
下記のリンクより、Firebaseの画面に遷移します。
https://firebase.google.com/?hl=ja
遷移後、下記のキャプチャの赤枠より、プロジェクト設定画面に移動します。
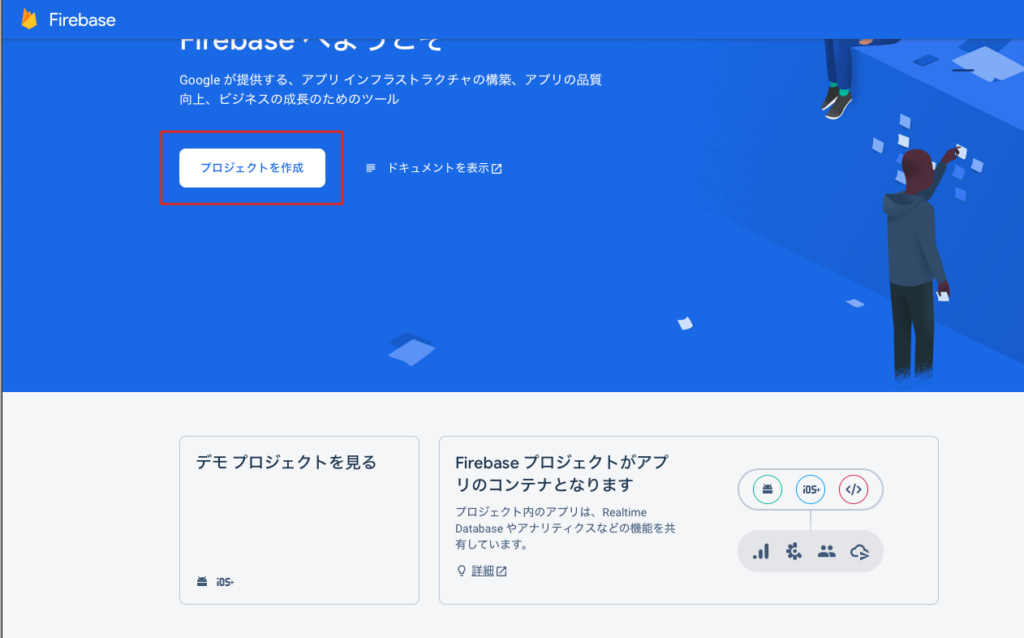
移動後、下記の画面になるので[プロジェクト作成]ボタンを押下します。
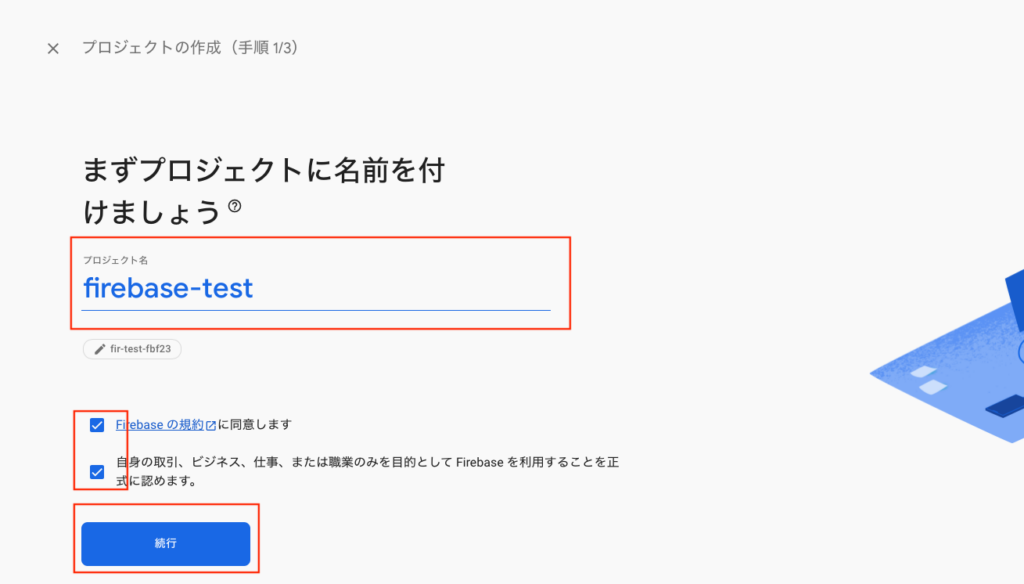
遷移後にプロジェクト名を入力しますが、既存のプロジェクトも選択できます。HostingしたAppを削除する際にプロジェクトごと削除するので新規で作成しておきます。
プロジェクト名入力後に下の利用規約にチェックして[続行]ボタンを押下します。
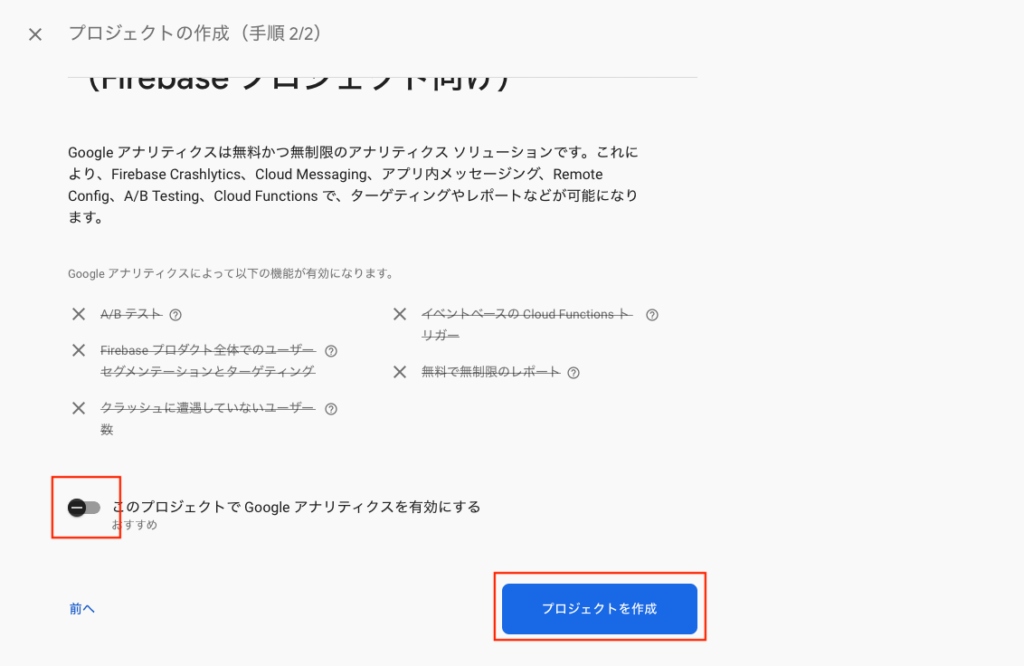
Googleアナリティクスの有効化を外します。今回はAppのデプロイテストの為、不要だからです。
プロジェクト作成ボタンを押下します。
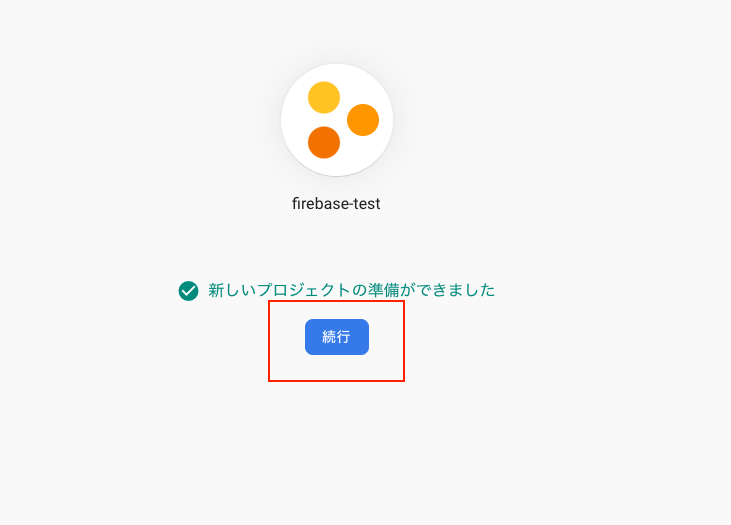
下記の画面になるので作成完了まで待ちます。ボタンが表示されたらそれを押下します。
・アップロード用Appの作成
次にローカルでFirebase Hostingにアップロードするアプリを作成します。
ここではnpm、npx(Reactインストール用)がインストールされている前提で話を進めます。
任意のディレクトリで下記のコマンドを実行します。
npx create-react-app react_app下記のコマンドを実行してpublicディレクトリが作成されている事を確認します。
MacBook-Pro:hosting$ cd react_app/ && ls
README.md		node_modules		package-lock.json	package.json		public			src
作成したreactプロジェクトに対してfirebaseをインストールします。
npm install --save firebaseMacBook-Pro:react_app$ npm install --save firebase
npm WARN deprecated uglify-es@3.3.9: support for ECMAScript is superseded by `uglify-js` as of v3.13.0
added 448 packages, and audited 1957 packages in 1m
255 packages are looking for funding
run `npm fund` for details
6 high severity vulnerabilities
To address all issues (including breaking changes), run:
npm audit fix --force
Run `npm audit` for details.
次にfirebaseツールをインストールします。アクセス権限でエラーが発生したらコマンド先頭にsudoをつけてインストールしください。
npm install -g firebase-toolsMacBook-Pro:react_app$ sudo npm install -g firebase-tools
Password:
npm WARN deprecated har-validator@5.1.5: this library is no longer supported
npm WARN deprecated uuid@3.4.0: Please upgrade to version 7 or higher. Older versions may use Math.random() in certain circumstances, which is known to be problematic. See https://v8.dev/blog/math-random for details.
npm WARN deprecated request@2.88.2: request has been deprecated, see https://github.com/request/request/issues/3142
added 669 packages in 31s
62 packages are looking for funding
run `npm fund` for details
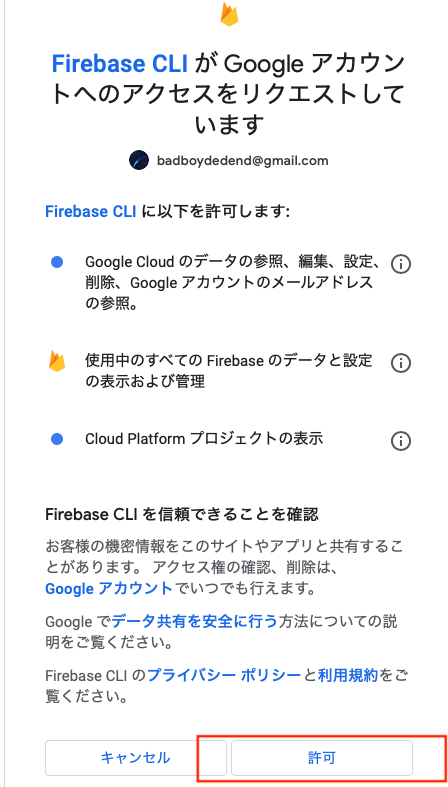
次にgoogle認証を通してfirebaseにログインします。下記のコマンドを実行してください。
firebase login下記の画面が表示されますので[許可]ボタンを押下します。
MacBook-Pro:react_app$ firebase login
i  Firebase optionally collects CLI and Emulator Suite usage and error reporting information to help improve our products. Data is collected in accordance with Google's privacy policy (https://policies.google.com/privacy) and is not used to identify you.

? Allow Firebase to collect CLI and Emulator Suite usage and error reporting information? Yes
i  To change your data collection preference at any time, run `firebase logout` and log in again.

Visit this URL on this device to log in:
https://accounts.google.com/o/oauth2/auth?client_id=xxxx

Waiting for authentication...

✔  Success! Logged in as xxxxx@gmail.com
上記でログイン完了です。
次にReactプロジェクトを初期化します。下記のコマンドを実行します。
firebase init複数の選択肢が表示されますので下記のように選択します。
●Configure files for Firebase Hosting and (optionally) set up GitHub Action deploys
●Use an existing project
What do you want to use as your public directory?→public(何も入力せずにENTER)
Configure as a single-page app (rewrite all urls to /index.html)?→No
Set up automatic builds and deploys with GitHub?→No
File public/index.html already exists. Overwrite?→No
MacBook-Pro:react_app$ firebase init

     ######## #### ########  ######## ########     ###     ######  ########
     ##        ##  ##     ## ##       ##     ##  ##   ##  ##       ##
     ######    ##  ########  ######   ########  #########  ######  ######
     ##        ##  ##    ##  ##       ##     ## ##     ##       ## ##
     ##       #### ##     ## ######## ########  ##     ##  ######  ########

You're about to initialize a Firebase project in this directory:

  /Users/anonymous/Documents/GoogleCloud/firebase/hosting/react_app

? Which Firebase features do you want to set up for this directory? Press Space to select features, then Enter to confirm your choices. Hosting:
 Configure files for Firebase Hosting and (optionally) set up GitHub Action deploys

=== Project Setup

First, let's associate this project directory with a Firebase project.
You can create multiple project aliases by running firebase use --add,
but for now we'll just set up a default project.

? Please select an option: Use an existing project
? Select a default Firebase project for this directory: fir-test-fbf23 (firebase-test)
i  Using project fir-test-fbf23 (firebase-test)

=== Hosting Setup

Your public directory is the folder (relative to your project directory) that
will contain Hosting assets to be uploaded with firebase deploy. If you
have a build process for your assets, use your build's output directory.

? What do you want to use as your public directory? public
? Configure as a single-page app (rewrite all urls to /index.html)? No
? Set up automatic builds and deploys with GitHub? No
✔  Wrote public/404.html
? File public/index.html already exists. Overwrite? No
i  Skipping write of public/index.html

i  Writing configuration info to firebase.json...
i  Writing project information to .firebaserc...

✔  Firebase initialization complete!
上記で完了です。
・アプリをデプロイする
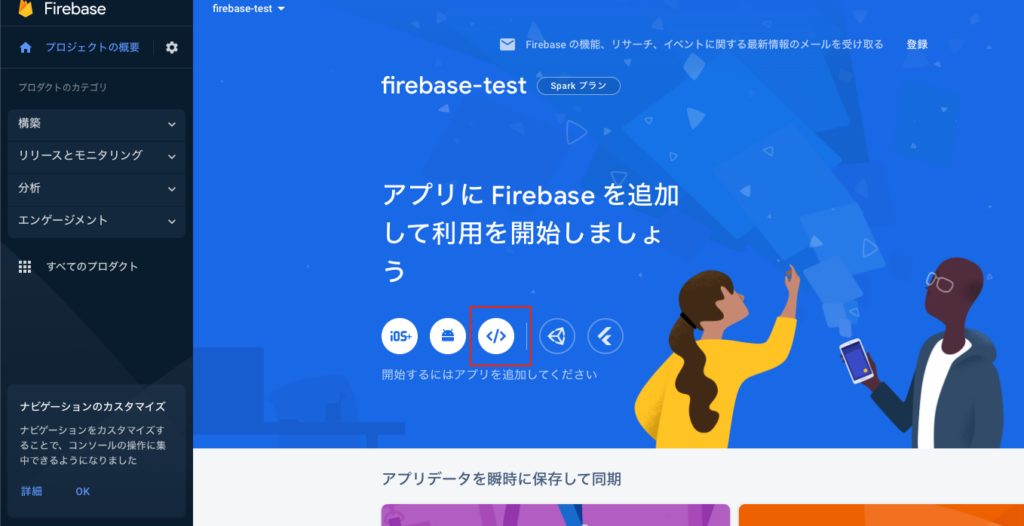
ブラウザの方に戻ります。
下記の赤枠のボタンを押下して次に進んでください。
次にAppの名前を適当に入力してボタンを押下します。
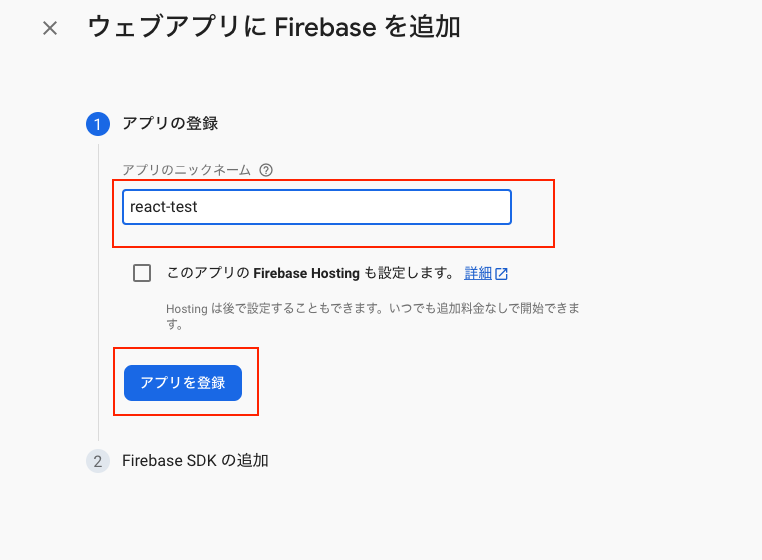
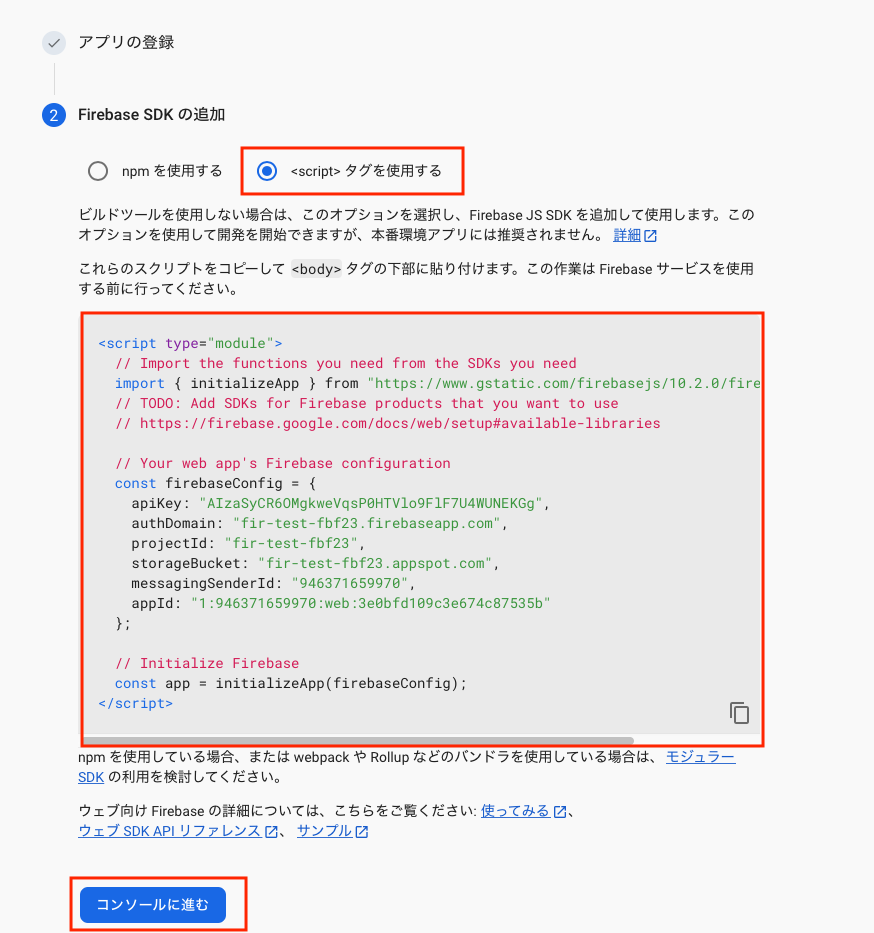
押下後、下記の画面の赤枠のソースを先ほどローカルに作成したReatプロジェクトのpublic/index.htmlのbodyの一番最後に追記し、[アプリを登録]ボタンを押下します。
vi public/index.htmlソースは修正後、下記の内容になります。
<!DOCTYPE html>
<html lang="en">
  <head>
    <meta charset="utf-8" />
    <link rel="icon" href="%PUBLIC_URL%/favicon.ico" />
    <meta name="viewport" content="width=device-width, initial-scale=1" />
    <meta name="theme-color" content="#000000" />
    <meta
      name="description"
      content="Web site created using create-react-app"
    />
    <link rel="apple-touch-icon" href="%PUBLIC_URL%/logo192.png" />
    <!--
      manifest.json provides metadata used when your web app is installed on a
      user's mobile device or desktop. See https://developers.google.com/web/fundamentals/web-app-manifest/
    -->
    <link rel="manifest" href="%PUBLIC_URL%/manifest.json" />
    <!--
      Notice the use of %PUBLIC_URL% in the tags above.
      It will be replaced with the URL of the `public` folder during the build.
      Only files inside the `public` folder can be referenced from the HTML.

      Unlike "/favicon.ico" or "favicon.ico", "%PUBLIC_URL%/favicon.ico" will
      work correctly both with client-side routing and a non-root public URL.
      Learn how to configure a non-root public URL by running `npm run build`.
    -->
    <title>React App</title>
  </head>
  <body>
    <noscript>You need to enable JavaScript to run this app.</noscript>
    <div id="root"></div>
    <!--
      This HTML file is a template.
      If you open it directly in the browser, you will see an empty page.

      You can add webfonts, meta tags, or analytics to this file.
      The build step will place the bundled scripts into the <body> tag.

      To begin the development, run `npm start` or `yarn start`.
      To create a production bundle, use `npm run build` or `yarn build`.
    -->
   <script type="module">
  // Import the functions you need from the SDKs you need
  import { initializeApp } from "https://www.gstatic.com/firebasejs/10.2.0/firebase-app.js";
  // TODO: Add SDKs for Firebase products that you want to use
  // https://firebase.google.com/docs/web/setup#available-libraries

  // Your web app's Firebase configuration
  const firebaseConfig = {
    apiKey: "AIzaSyCR6OMgkweVqsP0HTVlo9FlF7U4WUNEKGg",
    authDomain: "fir-test-fbf23.firebaseapp.com",
    projectId: "fir-test-fbf23",
    storageBucket: "fir-test-fbf23.appspot.com",
    messagingSenderId: "946371659970",
    appId: "1:946371659970:web:3e0bfd109c3e674c87535b"
  };

  // Initialize Firebase
  const app = initializeApp(firebaseConfig);
</script>
  </body>
</html>
コンソールへ進むボタンを押下してください。
最後に下記のコマンドをローカルのReactプロジェクト直下で実行します。
firebase deployMacBook-Pro:react_app$ firebase deploy
=== Deploying to 'fir-test-fbf23'...
i deploying hosting
i hosting[fir-test-fbf23]: beginning deploy...
i hosting[fir-test-fbf23]: found 7 files in public
✔ hosting[fir-test-fbf23]: file upload complete
i hosting[fir-test-fbf23]: finalizing version...
✔ hosting[fir-test-fbf23]: version finalized
i hosting[fir-test-fbf23]: releasing new version...
✔ hosting[fir-test-fbf23]: release complete
✔ Deploy complete!
Project Console: https://console.firebase.google.com/project/fir-test-fbf23/overview
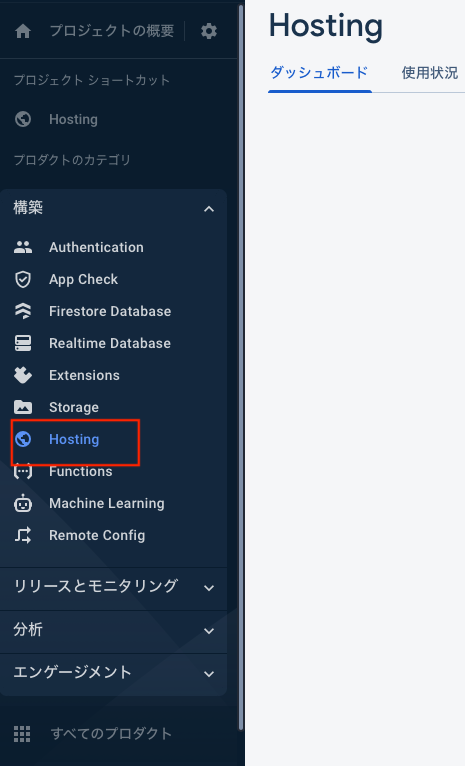
Hosting URL: https://fir-test-fbf23.web.app次にFirebaseコンソールの画面左のメニューより、Hostingを選択します。
次に下記の画面のURLよりHostingしたAppに対してアクセスします。
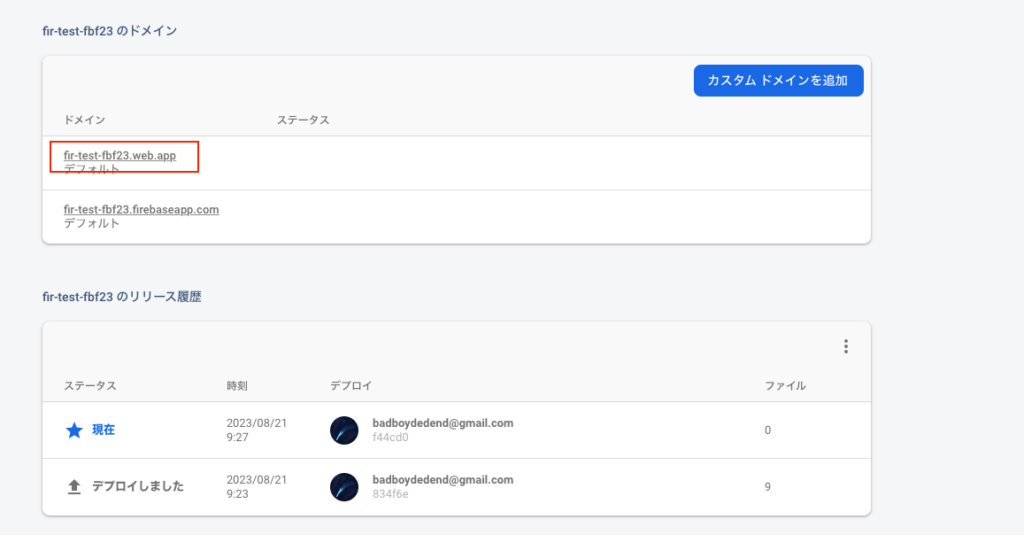
アクセスするとindex.htmlが表示されます。デフォルトでは真っ白なのでタイトルだけ[React App]となっている事を確認します。
上記でFirebase Hostingにデプロイする一通りの手順は完了です。次に自分の編集した内容が表示されるかを確認します。
・FirebaseでHelloWorldしてみる
先ほど編集したpublic/index.htmlを編集します。
<!DOCTYPE html>
<html lang="en">
  <head>
    <meta charset="utf-8" />
    <link rel="icon" href="%PUBLIC_URL%/favicon.ico" />
    <meta name="viewport" content="width=device-width, initial-scale=1" />
    <meta name="theme-color" content="#000000" />
    <meta
      name="description"
      content="Web site created using create-react-app"
    />
    <link rel="apple-touch-icon" href="%PUBLIC_URL%/logo192.png" />
    <link rel="manifest" href="%PUBLIC_URL%/manifest.json" />
    <title>React App</title>
  </head>
  <body>
    <p>Hello,Firebase!</p>
  </body>
</html>
再度下記のコマンドを実行します。
firebase deployもう一回、Firebaseコンソールからデプロイしたアプリにアクセスすると下記のように表示されます。
簡単ではありましたが、以上がFirebaseへのデプロイ手順となります。
・デプロイを中止する
下記のコマンドでデプロイしたアプリを取り下げることができます。Firebaseは従量課金のため、不要であればこちらを実行して非公開としてください。
firebase hosting:disableMacBook-Pro:react_app$ firebase hosting:disable
? Are you sure you want to disable Firebase Hosting for the site fir-test-fbf23
This will immediately make your site inaccessible! Yes
✔ Hosting has been disabled for fir-test-fbf23. Deploy a new version to re-enable.・Appendix
参考文献はこちら
コメントを残す