[A-00102]Reactをインストールする
Macでreactをインストールする方法を記載する。
reactのインストールでnpmを使用するのでまずはNode.jsをインストールする。
brewの場合は下記
brew install nodeパッケージインストーラーからは公式でダウンロードしてください。
https://nodejs.org/ja/download
・プロジェクトを作成する
適当なディレクトリを作成してそこをワークスペースとします。
ターミナルで下記のコマンドを実行します。
npx create-react-app react_app下記のようなログが出たら完了です。
Success! Created react_app at /Users/ikegawayouichi/Documents/js/test1/react_app
Inside that directory, you can run several commands:

  npm start
    Starts the development server.

  npm run build
    Bundles the app into static files for production.

  npm test
    Starts the test runner.

  npm run eject
    Removes this tool and copies build dependencies, configuration files
    and scripts into the app directory. If you do this, you can’t go back!

We suggest that you begin by typing:

  cd react_app
  npm start

Happy hacking!
完了したらワークスペースに下記のようなディレクトリが作成されます。
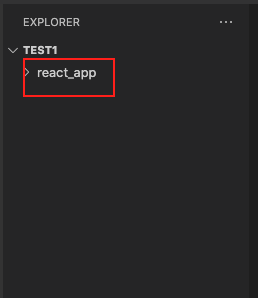
ディレクトリを移動してサーバーを実行してみます。
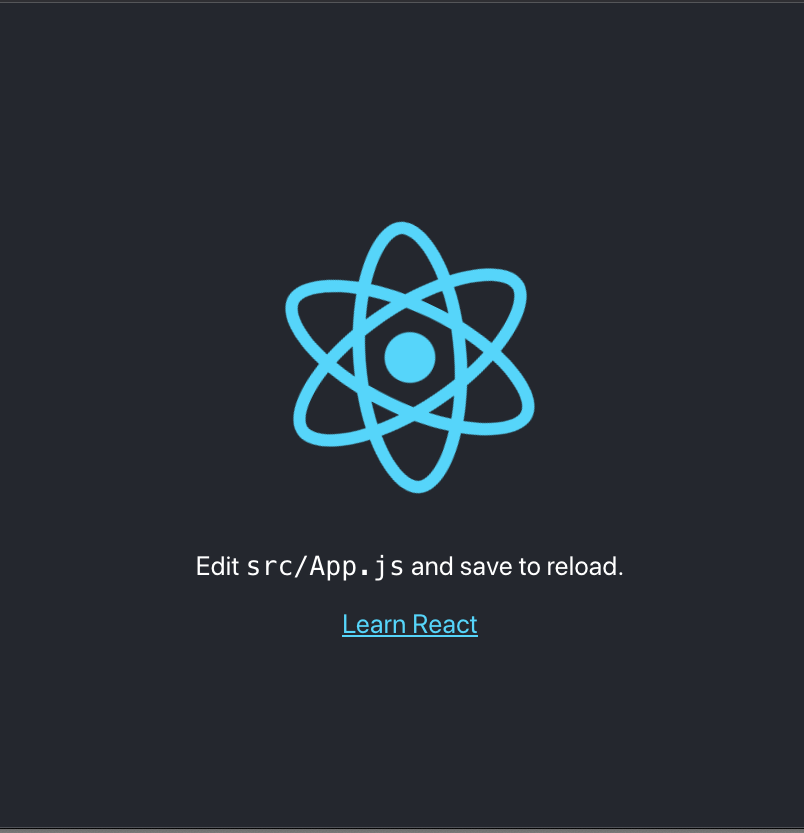
MacBook-Pro:test1$ cd react_app/
MacBook-Pro:react_app$ npm start
サーバー起動したら下記のようなWebページが立ち上がります。これでReactが使える状態になりました。
・サンプルプログラムを作成してみる
Reactに慣れるため、適当なサンプルを作成してみます。
下記の[App.js]を開いてください。
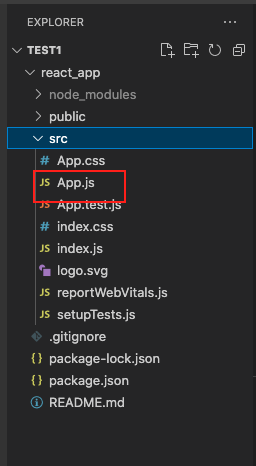
App.jsに適当なfunctionを作成してページに表示してみます。App.jsの適当な場所に下記のファンクションを作成してください。
function SimpleButton() {
  return (
    <button>
      hello,world.
    </button>
  )
}
次に[function App()]に下記のコードを追加してください。
function App() {
  return (
    <div className="App">
      <header className="App-header">
        <img src={logo} className="App-logo" alt="logo" />
        <p>
          Edit <code>src/App.js</code> and save to reload.
        </p>
        <a
          className="App-link"
          href="https://reactjs.org"
          target="_blank"
          rel="noopener noreferrer"
        >
          Learn React
        </a>
        <SimpleButton /> //ここを追加
      </header>
    </div>
  );
}
全体として下記のような内容になります。
import logo from './logo.svg';
import './App.css';

function App() {
  return (
    <div className="App">
      <header className="App-header">
        <img src={logo} className="App-logo" alt="logo" />
        <p>
          Edit <code>src/App.js</code> and save to reload.
        </p>
        <a
          className="App-link"
          href="https://reactjs.org"
          target="_blank"
          rel="noopener noreferrer"
        >
          Learn React
        </a>
        <SimpleButton />
      </header>
    </div>
  );
}

function SimpleButton() {
  return (
    <button>
      hello,world.
    </button>
  )
}

export default App;
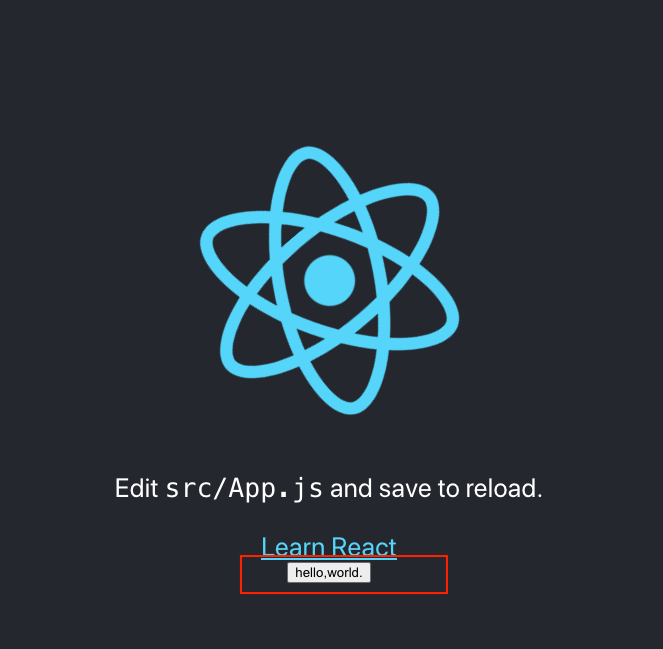
保存をすると自動的にサーバーが再起動してページがリロードされます。
ページは下記のようになります。ボタンが追加されています。
・Reactの仕組みの確認
基本的にWebページに表示している内容は[public/index.html]と[src/App.js]と[src/index.js]によって制御されています。index.htmlの<body>内部にある<div id=”root”>をみてください。ここには何も内容がありません。
<!DOCTYPE html>
<html lang="en">
  <head>
    <meta charset="utf-8" />
    <link rel="icon" href="%PUBLIC_URL%/favicon.ico" />
    <meta name="viewport" content="width=device-width, initial-scale=1" />
    <meta name="theme-color" content="#000000" />
    <meta
      name="description"
      content="Web site created using create-react-app"
    />
    <link rel="apple-touch-icon" href="%PUBLIC_URL%/logo192.png" />
    <!--
      manifest.json provides metadata used when your web app is installed on a
      user's mobile device or desktop. See https://developers.google.com/web/fundamentals/web-app-manifest/
    -->
    <link rel="manifest" href="%PUBLIC_URL%/manifest.json" />
    <!--
      Notice the use of %PUBLIC_URL% in the tags above.
      It will be replaced with the URL of the `public` folder during the build.
      Only files inside the `public` folder can be referenced from the HTML.

      Unlike "/favicon.ico" or "favicon.ico", "%PUBLIC_URL%/favicon.ico" will
      work correctly both with client-side routing and a non-root public URL.
      Learn how to configure a non-root public URL by running `npm run build`.
    -->
    <title>React App</title>
  </head>
  <body>

    <noscript>You need to enable JavaScript to run this app.</noscript>
    <div id="root"></div>

    <!--
      This HTML file is a template.
      If you open it directly in the browser, you will see an empty page.

      You can add webfonts, meta tags, or analytics to this file.
      The build step will place the bundled scripts into the <body> tag.

      To begin the development, run `npm start` or `yarn start`.
      To create a production bundle, use `npm run build` or `yarn build`.
    -->
  </body>
</html>
一方でindex.jsを見てみると下記にようになっております。htmlからrootを取得してそこにレンダリングしているという内容です。
import React from 'react';
import ReactDOM from 'react-dom/client';
import './index.css';
import App from './App';
import reportWebVitals from './reportWebVitals';

const root = ReactDOM.createRoot(document.getElementById('root'));
root.render(
  <React.StrictMode>
    <App />
    <TestApp />
  </React.StrictMode>
);

// If you want to start measuring performance in your app, pass a function
// to log results (for example: reportWebVitals(console.log))
// or send to an analytics endpoint. Learn more: https://bit.ly/CRA-vitals
reportWebVitals();
試しに自分の作ったファンクションをレンダリングしてみましょう。App.jsをコピーしてTestApp.jsとします。
import logo from './logo.svg';
import './App.css';

function TestApp() {
  return (
    <div className="TestApp">
      <header className="TestApp-header">
        <img src={logo} className="App-logo" alt="logo" />
        <p>
          Edit <code>src/TestApp.js</code> and save to reload.
        </p>
        <a
          className="App-link"
          href="https://reactjs.org"
          target="_blank"
          rel="noopener noreferrer"
        >
          Learn React
        </a>
      </header>
    </div>
  );
}

export default TestApp;
次にindex.jsに下記の内容を追加します。
import React from 'react';
import ReactDOM from 'react-dom/client';
import './index.css';
import App from './App';
import reportWebVitals from './reportWebVitals';
import TestApp from './TestApp'  //ここを追加

const root = ReactDOM.createRoot(document.getElementById('root'));
root.render(
  <React.StrictMode>
    <App />
    <TestApp /> //ここを追加
  </React.StrictMode>
);

// If you want to start measuring performance in your app, pass a function
// to log results (for example: reportWebVitals(console.log))
// or send to an analytics endpoint. Learn more: https://bit.ly/CRA-vitals
reportWebVitals();
リロードすると下記のようにウェブページに追加されます。
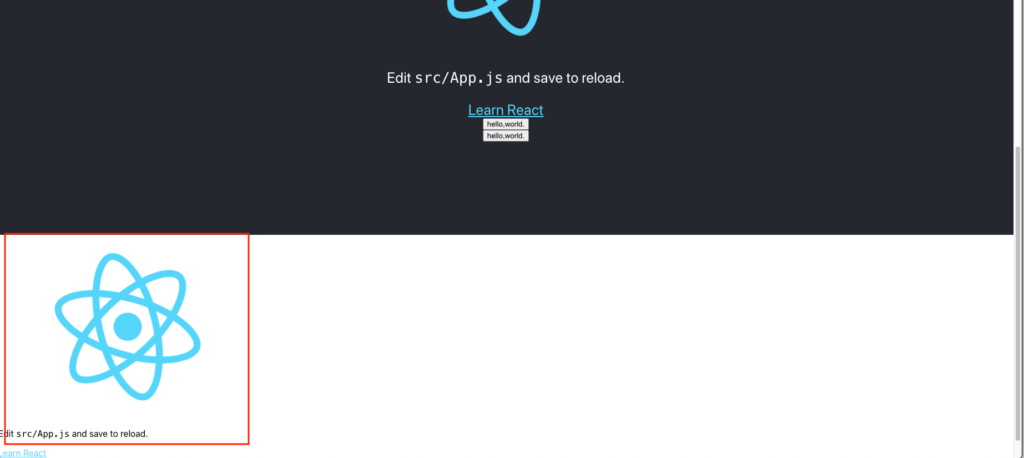
Reactでの開発は基本的に上記のような進め方でページを作成する事になります。
コメントを残す