[A-00113]Rustを使ってみる
rustをインストールして簡単なプログラムを動かすところまでやってみたいと思います。
公式ドキュメントはこちら
https://www.rust-lang.org/ja/learn/get-started
こちらは参考文献です。
https://qiita.com/akira_kawahara/items/b122551c5b46ba52f898
・インストール
任意でのディレクトリ(どこでも良い)で下記のコマンドを実行します。
curl --proto '=https' --tlsv1.2 -sSf https://sh.rustup.rs | sh実行中に選択肢が2つほど出てきますが下記のとおりに入力しました。
info: downloading installer
warning: it looks like you have an existing installation of Rust at:
warning: /usr/local/bin
warning: It is recommended that rustup be the primary Rust installation.
warning: Otherwise you may have confusion unless you are careful with your PATH
warning: If you are sure that you want both rustup and your already installed Rust
warning: then please reply `y' or `yes' or set RUSTUP_INIT_SKIP_PATH_CHECK to yes
warning: or pass `-y' to ignore all ignorable checks.
error: cannot install while Rust is installed

Continue? (y/N) y

Current installation options:


   default host triple: x86_64-apple-darwin
     default toolchain: stable (default)
               profile: default
  modify PATH variable: yes

1) Proceed with installation (default)
2) Customize installation
3) Cancel installation
>1
インストール後にsourceコマンドでbashを更新します。
source "$HOME/.cargo/env"rustが動くことを確認します。
rustup --versionMacBook-Pro:~$ rustup --version
rustup 1.26.0 (5af9b9484 2023-04-05)
info: This is the version for the rustup toolchain manager, not the rustc compiler.
info: The currently active `rustc` version is `rustc 1.71.1 (eb26296b5 2023-08-03)`cargoが動くことを確認します。
cargo --versionMacBook-Pro:~$ cargo --version
cargo 1.71.1 (7f1d04c00 2023-07-29)・cargoでプロジェクトを作成
cargoコマンドを用いてプロジェクトを作成します。適当な場所で下記のコマンドを実行します。
cargo new test1-pjMacBook-Pro:rust$ cargo new test1-pj
Created binary (application) `test1-pj` package作成したらVSCodeを立ち上げてtest1-pjを開いてください。
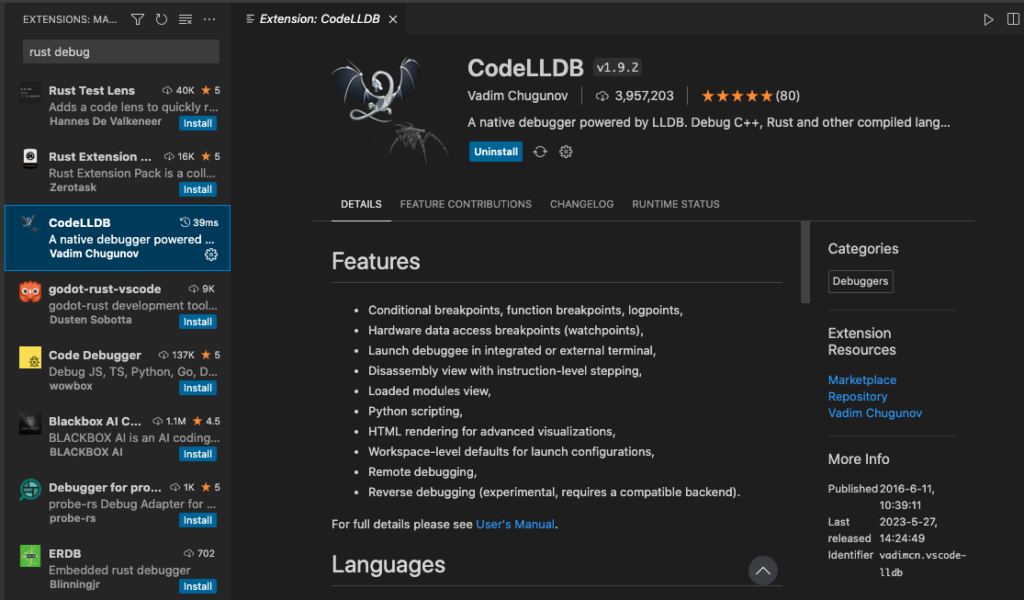
次にプラグインをインストールします。
・rust-analyzer
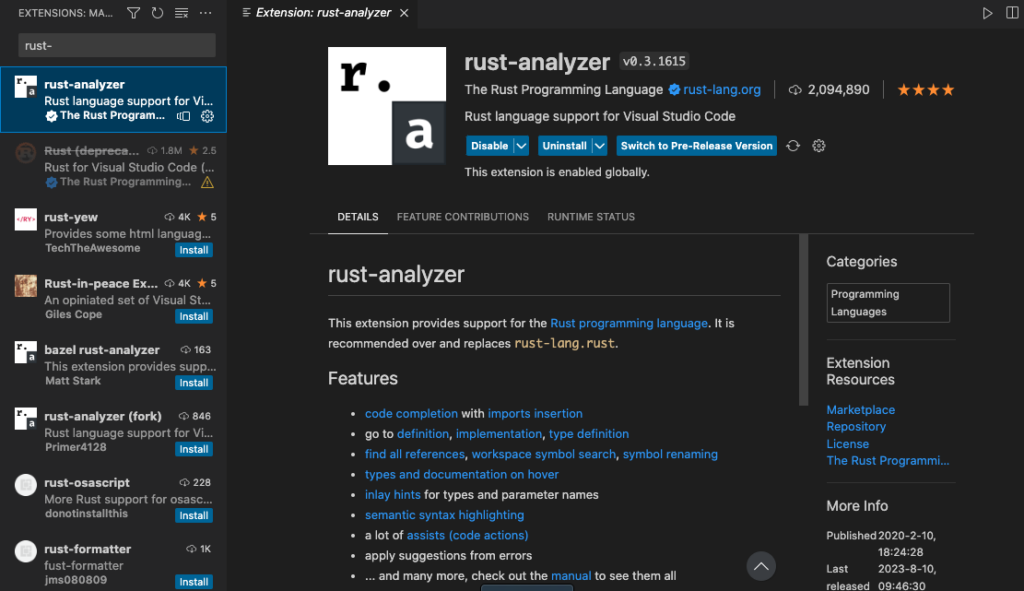
・CodeLLDB
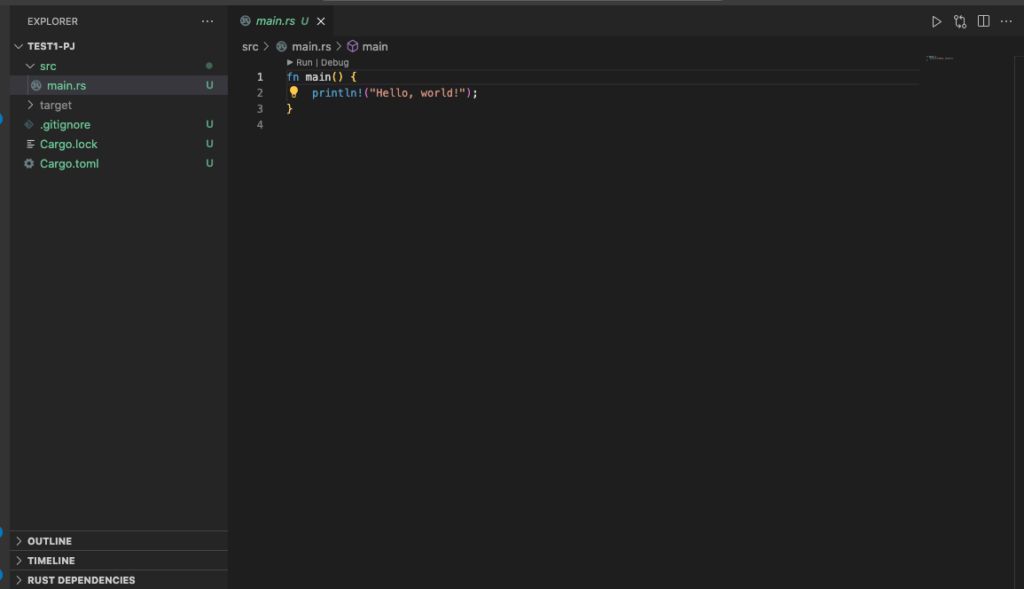
先ほどcargoで作成したプロジェクトはテンプレートになっており、以下のようにすでにdemo用のソースが格納されてます。
ターミナルを開いて下記のコマンドを実行します。
cargo buildMacBook-Pro:test1-pj$ cargo build
Finished dev [unoptimized + debuginfo] target(s) in 0.00s次に実行します。
cargo runMacBook-Pro:test1-pj$ cargo run
Finished dev [unoptimized + debuginfo] target(s) in 0.00s
Running `target/debug/test1-pj`
Hello, world!以上がRustの実行までの作業でした。次回の記事ではライブラリ・フレームワークについて調べたいと思います。
コメントを残す