[A-00120]Vue.jsを使ってみる
Macでvue.jsを使ってみるところまでを記載しておく
参考ページは下記
公式ページは下記
https://ja.vuejs.org/guide/quick-start.html
・インストール
superuser(su)でnpmよりインストール
npm install -g @vue/cli・プロジェクト作成
適当なディレクトリを作成して下記のコマンドを実行
vue create hello-world実行したらvueのインストール画面に遷移してごちゃごちゃとプロジェクト作成の進捗バーなどが表示されます。
MacBook-Pro:vue_test2$ vue create hello-world


Vue CLI v5.0.8
? Please pick a preset: Default ([Vue 3] babel, eslint)


Vue CLI v5.0.8
✨  Creating project in /Users/anonymous/Documents/js/vue_test2/hello-world.
🗃  Initializing git repository...
⚙️  Installing CLI plugins. This might take a while...


added 862 packages, and audited 863 packages in 52s

94 packages are looking for funding
  run `npm fund` for details

found 0 vulnerabilities
🚀  Invoking generators...
📦  Installing additional dependencies...


added 101 packages, and audited 964 packages in 12s

107 packages are looking for funding
  run `npm fund` for details

found 0 vulnerabilities
⚓  Running completion hooks...

📄  Generating README.md...

🎉  Successfully created project hello-world.
👉  Get started with the following commands:

 $ cd hello-world
 $ npm run serve
下記のコマンドを実行します。
cd hello-world
npm run serve
DONE Compiled successfully in 6768ms 11:22:26 AM
App running at:
- Local: http://localhost:8080/
- Network: http://192.168.1.4:8080/
Note that the development build is not optimized.
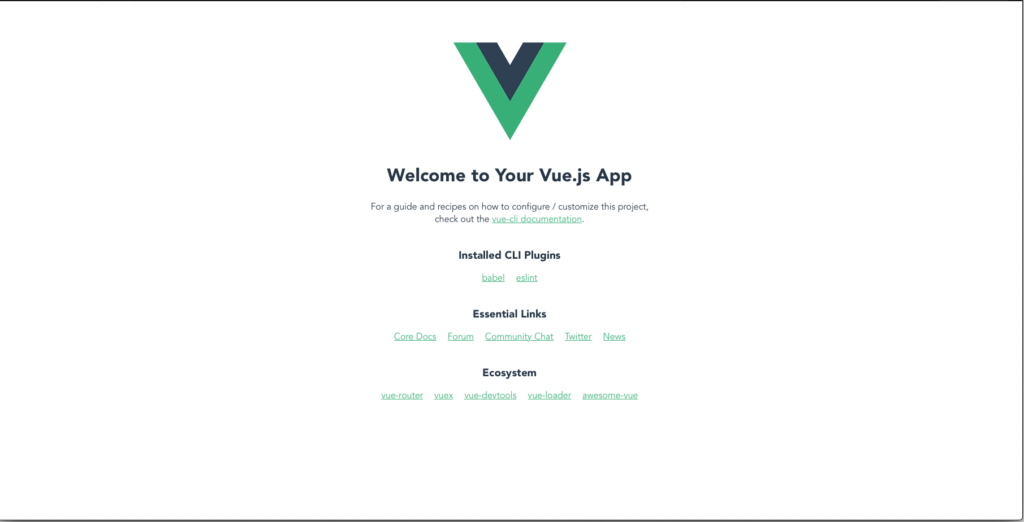
To create a production build, run npm run build.上記が完了したら表示されたURLにアクセスします。
下記が表示されれば動作確認完了です。
・プログラムを自分で書いてみる
まずvueコマンドを使って適当なプロジェクトを作成します。
vue create <project-name>MacBook-Pro:js$ vue create vue_test3
Vue CLI v5.0.8
? Please pick a preset: Default ([Vue 3] babel, eslint)
Vue CLI v5.0.8
✨ Creating project in /Users/anonymous/Documents/js/vue_test3.
🗃 Initializing git repository...
⚙️ Installing CLI plugins. This might take a while...
added 862 packages, and audited 863 packages in 34s
94 packages are looking for funding
run `npm fund` for details
found 0 vulnerabilities
🚀 Invoking generators...
📦 Installing additional dependencies...
added 101 packages, and audited 964 packages in 8s
107 packages are looking for funding
run `npm fund` for details
found 0 vulnerabilities
⚓ Running completion hooks...
📄 Generating README.md...
🎉 Successfully created project vue_test3.
👉 Get started with the following commands:
$ cd vue_test3
$ npm run serve
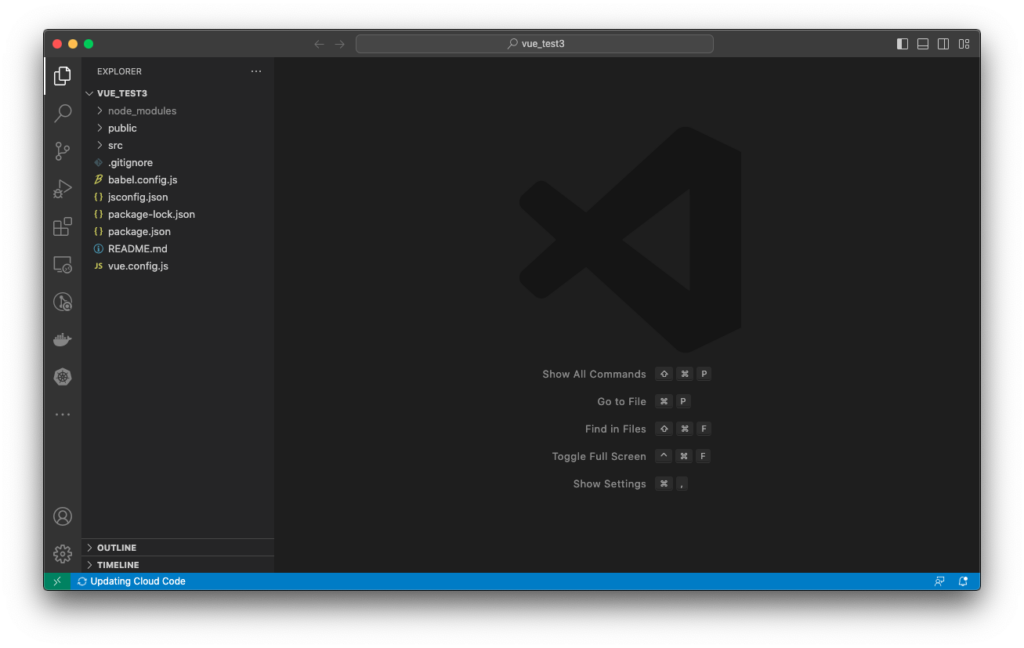
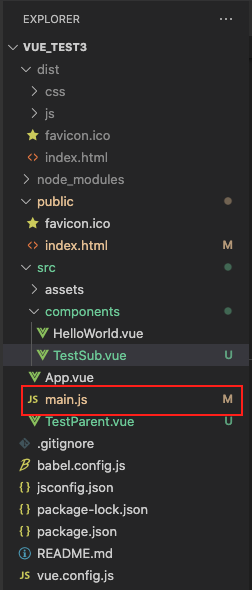
プロジェクトが作成できたらVSCodeで開きます。
ここではVueの動きの仕組みを理解する為、既存のvueファイルを元に別のvueファイルに置き換えて似たような動きのアプリを作成します。アプリといっても画面に[Hello,World]と表示するだけです。
まずApp.vueをコピーしてTestParent.vueを作成します。
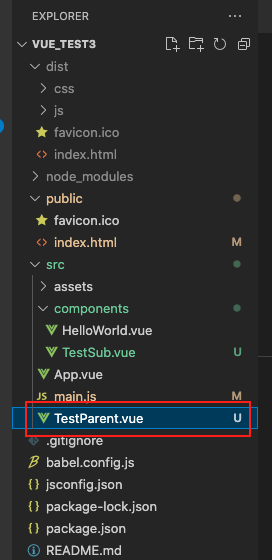
ソースの中身は下記のとおりです。元のApp.vueではHelloWorld.vueをインポートして内部で使用してましたが、ここではTestSub.vueに置き換えています。また<template>タグ内部はシンプルにTestSubのプロパティであるmsgの中身を定義するだけです。
<template>
    <TestSub msg="Hellow,world" />
</template>

  <script>
  import TestSub from './components/TestSub.vue'

  export default {
    name: 'TestParent',
    components: {
      TestSub
    }
  }
  </script>

  <style>
  #app {
    font-family: Avenir, Helvetica, Arial, sans-serif;
    -webkit-font-smoothing: antialiased;
    -moz-osx-font-smoothing: grayscale;
    text-align: center;
    color: #2c3e50;
    margin-top: 60px;
  }
  </style>
次にcomponentsディレクトリ下に、HelloWorld.vueをコピーしてTestSub.vueを作成します。
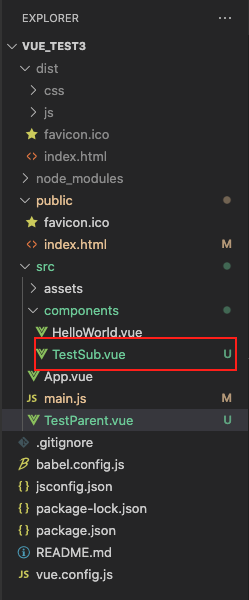
TestSub.vueのソースは下記のとおりです。HTML表示する内容はシンプルにHello,worldとだけにします。
またTestSubの定義にはプロパティmsgのみを記載してます。
<template>
    <div class="testSub">
      <h1>{{ msg }}</h1>
    </div>
  </template>

<script>
export default {
  name: 'TestSub',
  props: {
    msg: String
  }
}
</script>

<!-- Add "scoped" attribute to limit CSS to this component only -->
<style scoped>
h3 {
  margin: 40px 0 0;
}
ul {
  list-style-type: none;
  padding: 0;
}
li {
  display: inline-block;
  margin: 0 10px;
}
a {
  color: #42b983;
}
</style>
次にバックエンドのロジックであるmain.jsを下記のとおりに修正します。
import { createApp } from 'vue'
//import App from './App.vue'
import TestParent from './TestParent.vue'

createApp(TestParent).mount('#app')
上記のソースの説明をします。#appというのはid=appとなっているHTMLタグを指していますが、これはindex.htmlに存在します。この#appをTestParentで置き換えるというのがcreateAppの示す意味です。
TestParentに置き換えられたら、TestParentではTestSubをインポートしているので連鎖的に呼び出ししています。
上記のソースをnpmでビルド、サーバー起動してみましょう。
npm run build
npm run serve
起動できたら下記のURLにアクセスするとHello,worldと画面に表示されます。

・ポート番号の変更について
ポートはデフォルトだと8080ですが、変更する場合は[vue.config.js]を編集します。transpileDependencies以下にdevServerの定義を追加します。
const { defineConfig } = require('@vue/cli-service')
module.exports = defineConfig({
  transpileDependencies: true,
        devServer: {
          port: 5000,
          host: 'localhost'
        }
})
起動後、下記のように表示されます。
~/hello-world$ sudo npm run serve

> hello-world@0.1.0 serve
> vue-cli-service serve

 INFO  Starting development server...


 DONE  Compiled successfully in 5200ms                                                               7:13:19 AM


  App running at:
  - Local:   http://localhost:5000/
  - Network: http://localhost:5000/

  Note that the development build is not optimized.
  To create a production build, run npm run build.
コメントを残す