[A-00125]Tailwind CSSを使ってみる
tailwind cssの初級者向け記事になります。とりあえずプロジェクトの作成からtailwindで何ができるかまでをざっくり記載しておきます。
・プロジェクトを作成する
npmを使用してプロジェクトを作成します。任意のディレクトリを作成し、npm初期化コマンドを実行します。
mkdir testpj1 && cd testpj1
npm ini -y
npmで初期化後、下記のディレクトリ構造になります。
MacBook-Pro:testpj1$ tree
.
└── package.json
・TailwindCSSをインストールする
次にtailwindcssをインストールします。
npm install tailwindcssMacBook-Pro:testpj1$ npm install tailwindcss
added 83 packages, and audited 84 packages in 7s
14 packages are looking for funding
run `npm fund` for details
found 0 vulnerabilities次にnpxコマンドでtailwindを初期化してtailwind.config.jsを作成します。
npx tailwind initMacBook-Pro:testpj1$ npx tailwind init
Created Tailwind CSS config file: tailwind.config.js作成されたtailwind.config.jsを下記のとおりに編集します。
/** @type {import('tailwindcss').Config} */
module.exports = {
  content: ["./src/**/*.{html,js}"],
  theme: {
    extend: {},
  },
  plugins: [],
}
次にsrcディレクトリを作成してそこに使用するCSSライブラリの定義を作成します。
mkdir src && cd src
touch input.css && chmod 777 input.css
ファイルを作成したのでVSCodeでプロジェクトを開きます。
作成したinput.cssに下記のコードを記載します。
@tailwind base;
@tailwind components;
@tailwind utilities;
上記のinput.cssを作成したら下記のコマンドをターミナルから実行します。
npx tailwindcss -i ./src/input.css -o ./dist/output.css --watchMacBook-Pro:testpj1$ npx tailwindcss -i ./src/input.css -o ./dist/output.css --watch
Rebuilding...
warn - No utility classes were detected in your source files. If this is unexpected, double-check the `content` option in your Tailwind CSS configuration.
warn - https://tailwindcss.com/docs/content-configuration
Done in 404ms.上記のコマンドを実行することでtailwindが起動され、編集したコードの反映をリアルタイムで実行してくれます。
・TailwindCSSを動かしてみる
srcディレクトリ配下にindex.htmlを作成し、下記のコードを貼り付けてください。
<!doctype html>
<html>
<head>
<meta charset="UTF-8">
<meta name="viewport" content="width=device-width, initial-scale=1.0">
<link href="/dist/output.css" rel="stylesheet">
</head>
<body>
<h1 class="text-3xl font-bold underline">
Hello world!
</h1>
<button class="bg-indigo-700 font-semibold text-white py-2 px-4 rounded">
ボタン
</button>
</body>
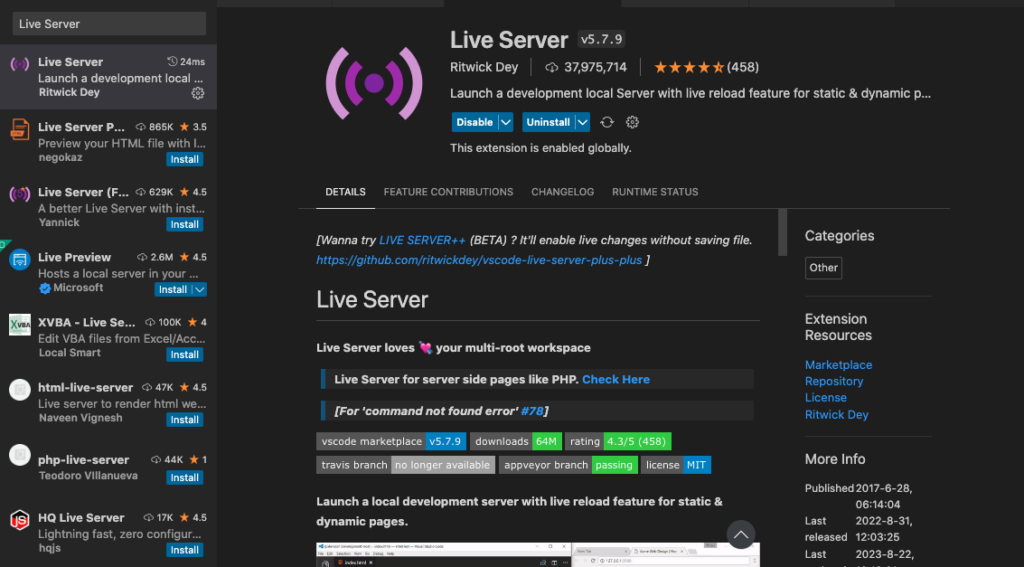
</html>次にVSCodeにプラグインをインストールします。
Live Serverをインストールしてください。
インストールが完了したらindex.htmlを右クリックして[Open with Live Server]を選択します。
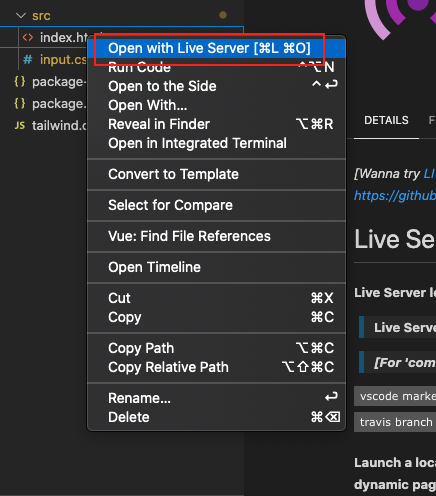
ウェブブラウザ上で下記のキャプチャのように表示されればOKです。

上記でTailwindCSSの動かし方になります。
・Appendix
公式ドキュメントはこちら
https://tailwindcss.com/docs/installation
公式チートシートはこちら
https://nerdcave.com/tailwind-cheat-sheet
CDNのURLはこちら
https://cdnjs.com/libraries/bootstrap
参考文献はこちら
コメントを残す