[A-00185]Google CloudのStorage Transfer Serviceを使ってみる
Google Cloudが提供するMFT(Managed File Transfer)サービスであるStorage Transfer Serviceを使ってみたいと思います。
・シンプルなイベントドリブン方式のファイル転送ジョブを作成する。
アーキテクチャは下記の通りです。プロジェクトAから別プロジェクトのバケットにファイルを転送します。イベントドリブン方式を採用するのでプロジェクトAのバケットにファイルが作成(object.finalize)されたら自動でプロジェクトBのバケットに転送してくれます。
このセクションではgcloudコマンドとコンソールを利用して上記のシステムを作ってみます。
まずプロジェクトA(自分で好きな名前のプロジェクトを作成してください)にインプット用のバケットを作成します。同様にプロジェクトBにもアウトプット用バケットを作成します。
gsutil mb -p <project-a-name> -c standard -l asia-northeast1 gs://sts-test-input-bktgsutil mb -p <project-b-name> -c standard -l asia-northeast1 gs://sts-test-output-bkt次にプロジェクトAのバケットにNotificationという機能を実装します。Notificationは下記のコマンドで作成できます。同時にPub/Subトピックも作成しますので適当な名前をつけてください。
gcloud storage buckets notifications create gs://sts-test-input-bkt --topic=stsnotif-topic次に上記のコマンドで作成したトピックに対応するサブスクリプションを作成します。
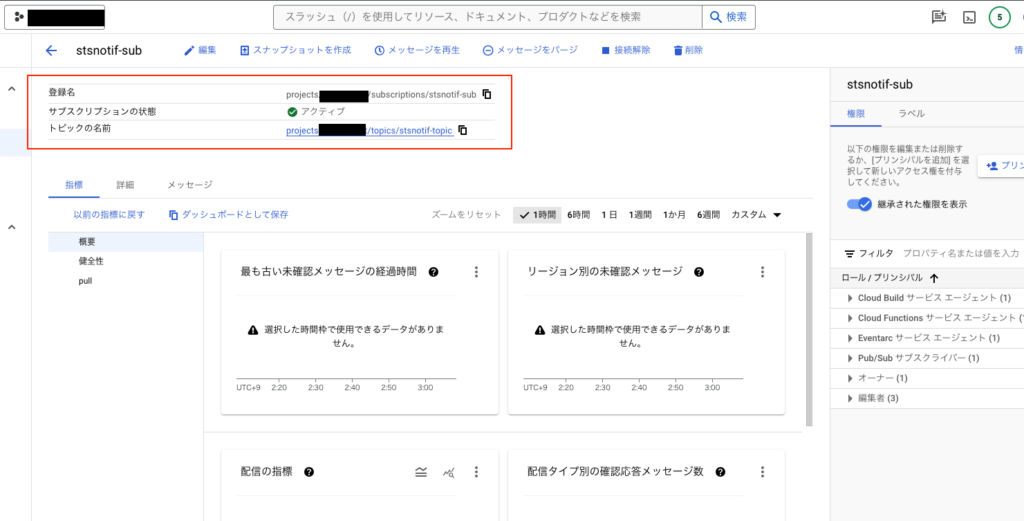
gcloud pubsub subscriptions create stsnotif-sub --topic=stsnotif-topic --ack-deadline=300Google Cloud Consoleから確認するとちゃんとできていることがわかります。
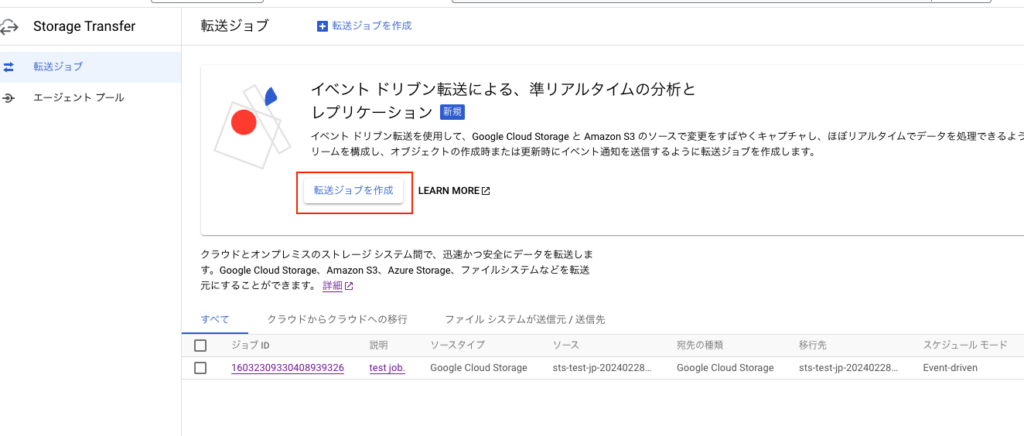
次にGoogle CloudコンソールからStorage Transfer ServiceのJobを作成します。
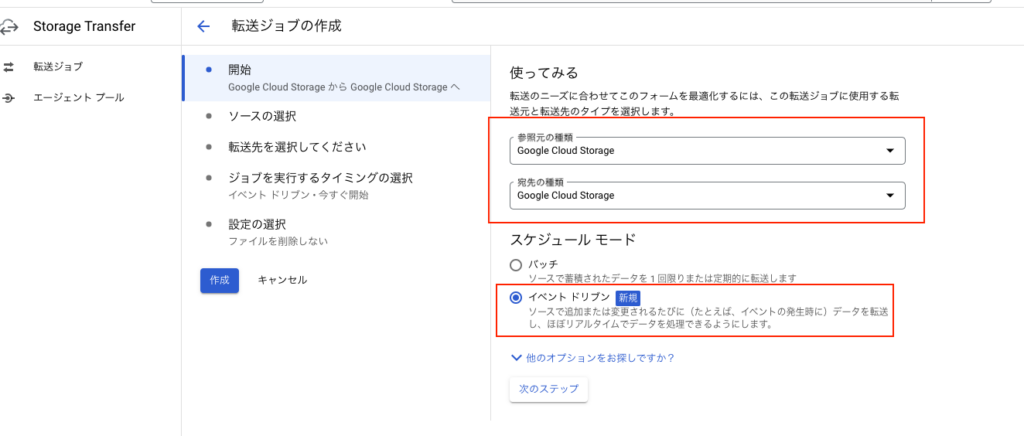
転送元と転送先はどちらもCloudStorageなので下記の通りに選択します。
次にイベントドリブン方式を選択して[次のステップ]ボタンを押下します。
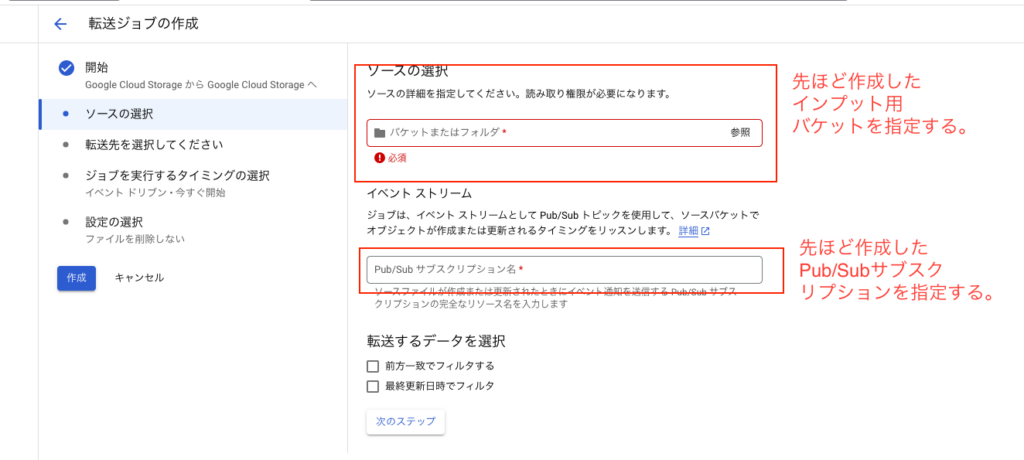
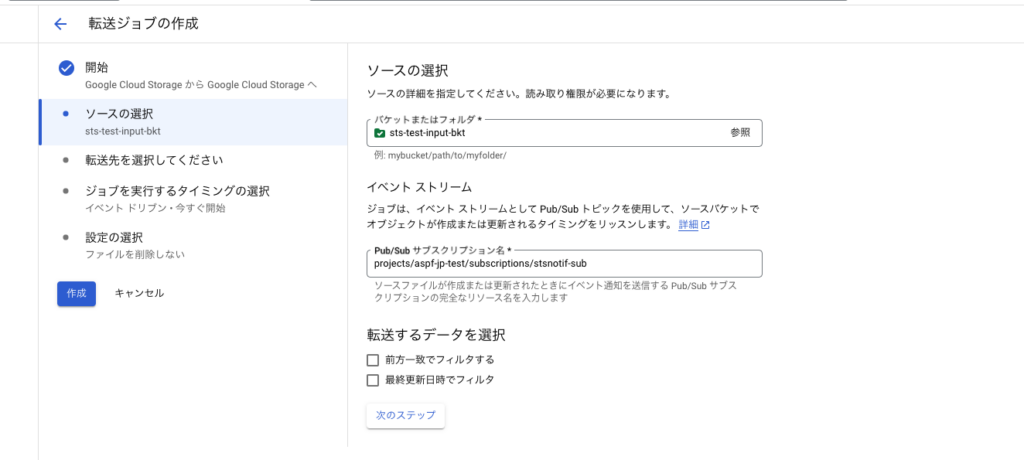
次に転送元のバケットとサブスクリプションを指定します。
<入力前>
<入力後>
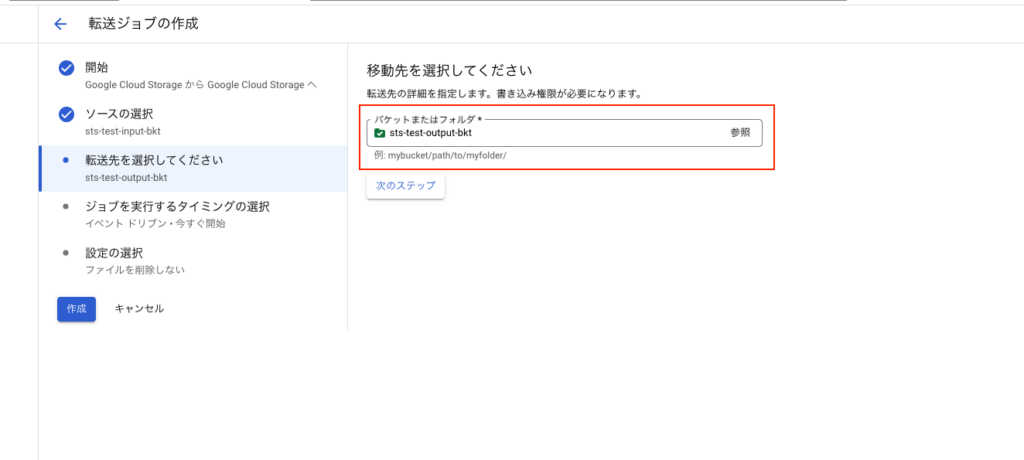
[次のステップ]ボタンを押下して下記の画面になります。同じように転送先バケットを設定します。
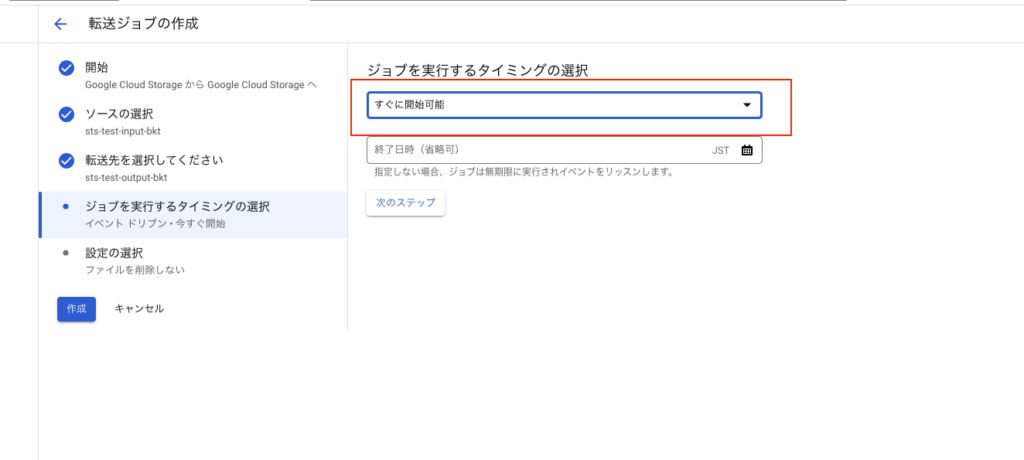
次の画面ではジョブの開始時刻を指定できますが、特にトリガーとなるイベントは無いため、即時開始を選択します。
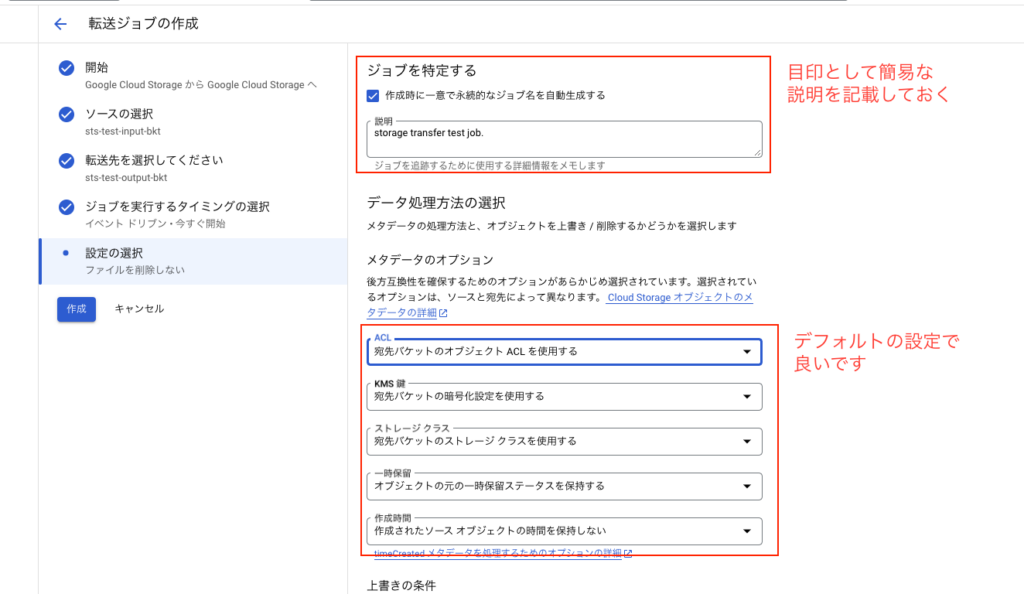
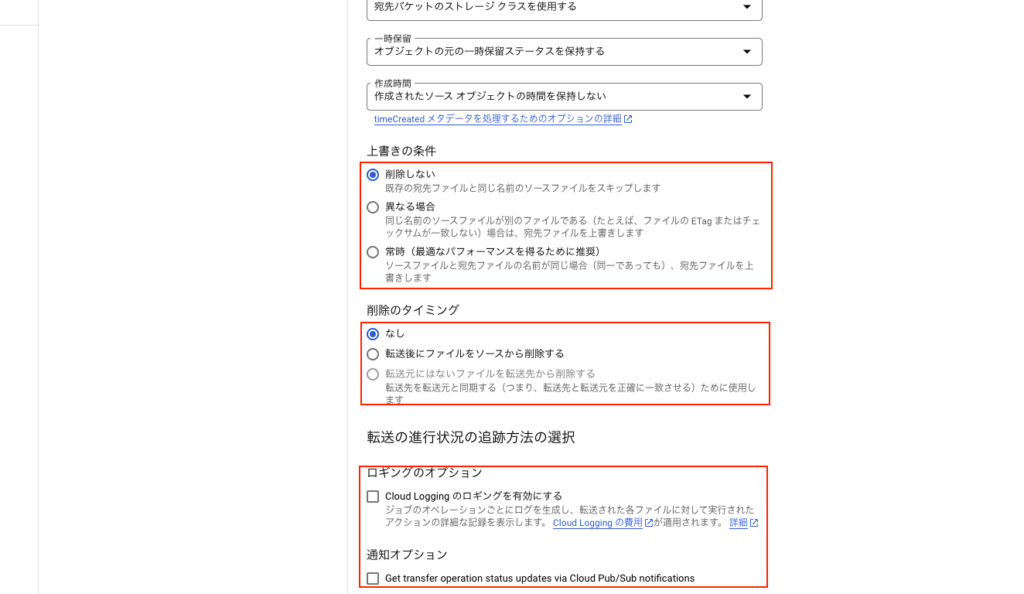
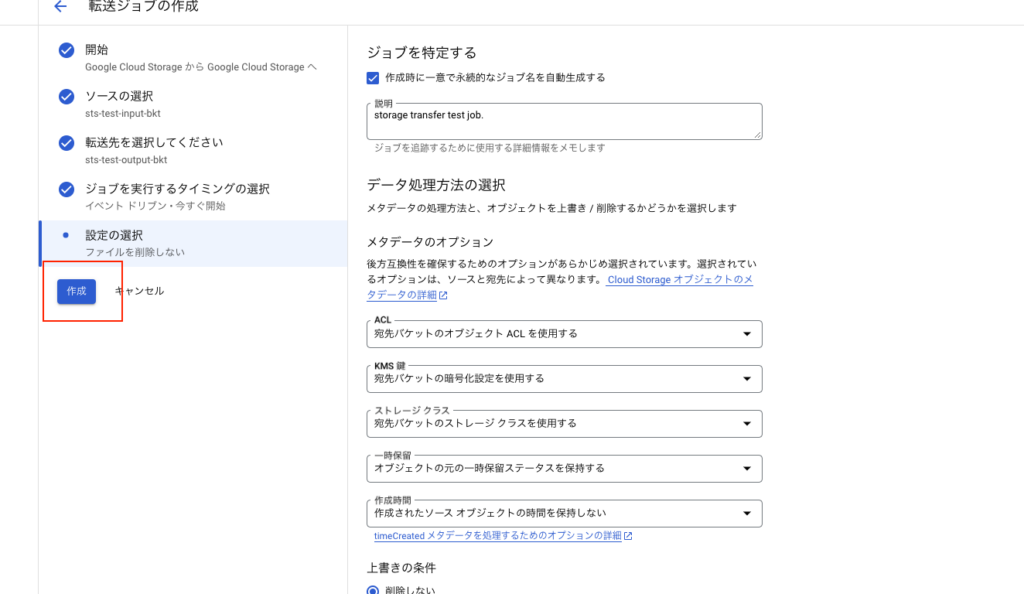
次の画面では細かいオプションを指定できます。下記のキャプチャの通り設定して[作成]ボタンを押下し、ジョブを作成してください。
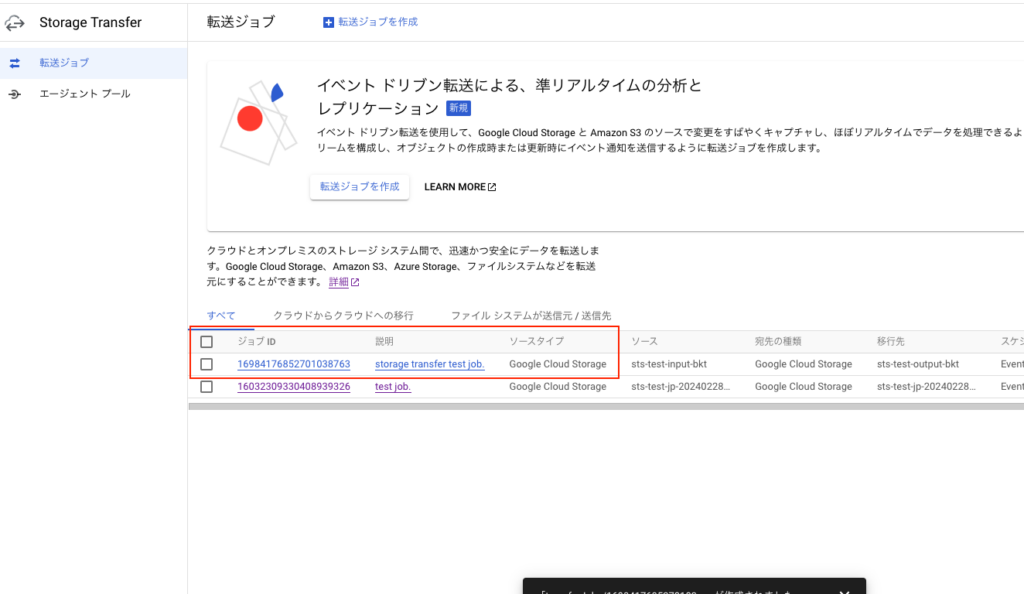
作成ボタンを押下したら下記の通りジョブが作成されます。
<注意>
作成ボタンを押下したらエラーが出た場合、Storage Transfer Serviceのサービスアカウントに権限がなくてエラーが発生しています。その場合は下記の対応を行います。Pub/Sub Subscriberロールの権限がない場合が多いです。
<サービスアカウントの調べ方>
GET https://storagetransfer.googleapis.com/v1/googleServiceAccounts/{projectId}<ロール付与の方法>
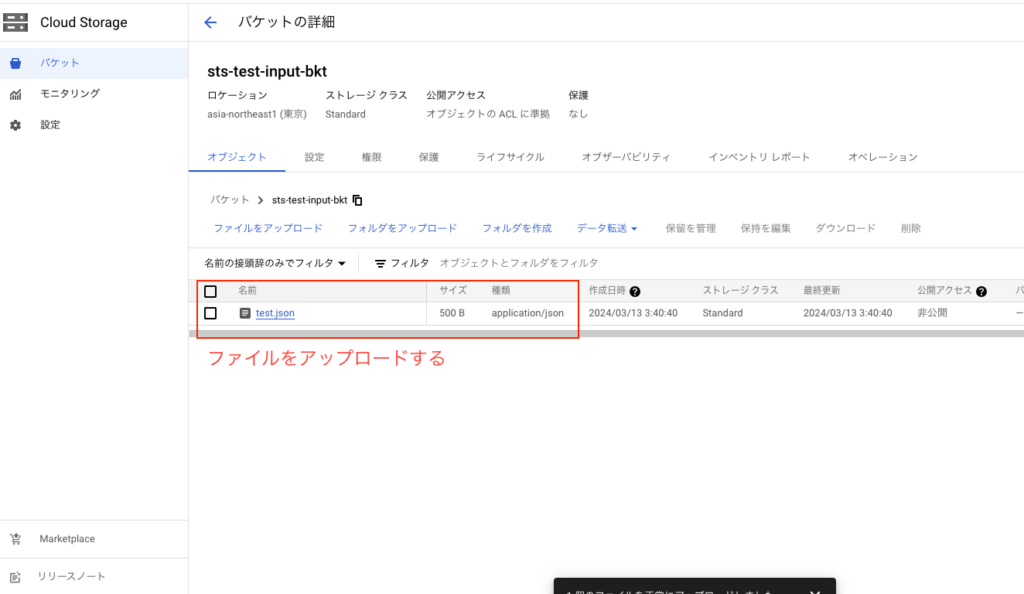
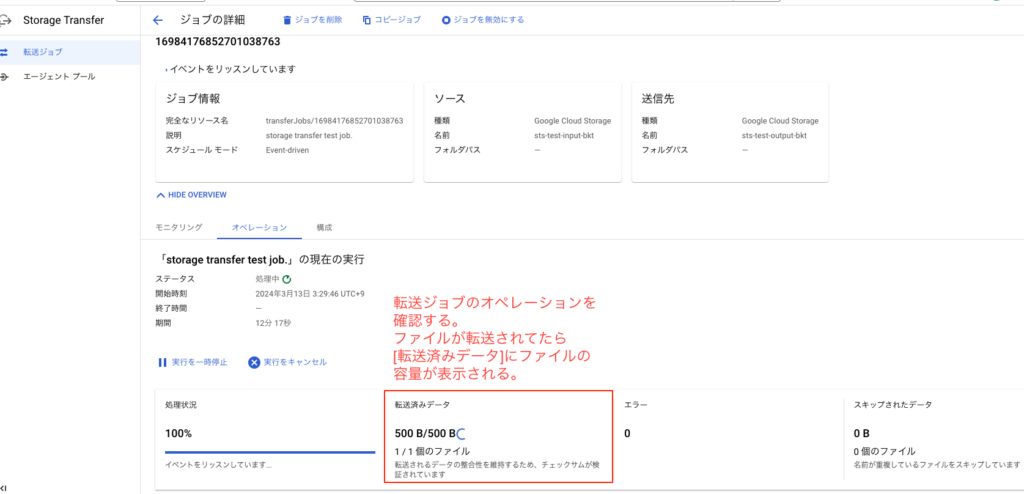
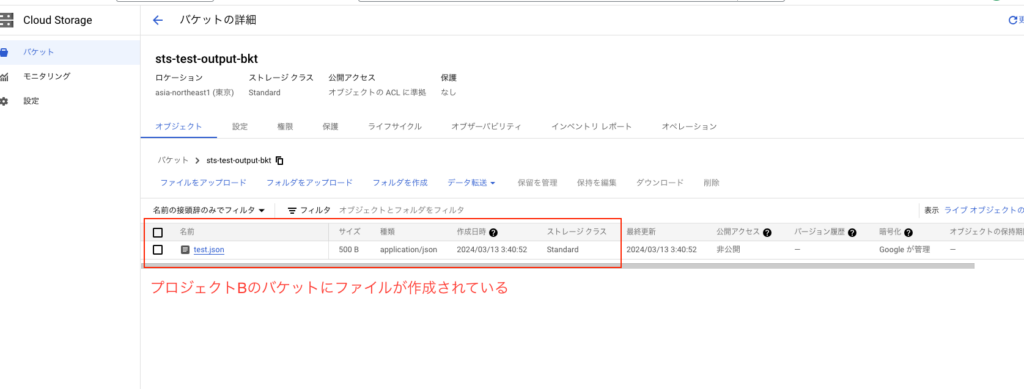
gcloud projects add-iam-policy-binding <project-id> --member='serviceAccount:project-<PROJECT_NUMBER>@storage-transfer-service.iam.gserviceaccount.com' --role='roles/pubsub.subscriber'上記の作業が完了したらバケットにファイルを置いてみてください。転送されるはずです。
・terraformからStorage Transfer Jobを作成してみる
・Appendix
公式ドキュメントはこちら
https://cloud.google.com/storage-transfer/docs/event-driven-transfers?hl=ja#gcloud-cli
コメントを残す